Thursday, May 25, 2017

Baby Chicks in the Art Room!

This Spring, we took on a new adventure in our school's art room: hatching baby chicks!  Every year, our school takes part in a project to teach about the process of the egg to the bird.  Many classes from Kindergarten through 6th grade take part in the project.  With this being my 3rd year at my school, I was interested to see if a specials teacher could participate as well!  I was very excited to receive approval and begin the journey of hatching chicks in the art room!  Even with student allergies and sensitivities, this project was checked with parents prior to beginning the process.

Our Baby Chick Story

It all started with an incubator.  The box contains a space for water (to keep the eggs humid for the 21 day incubation period), a metal rack, and a turner for the.  We needed to keep the temperature at 99.5 degrees during the 21 day incubation.


Throughout the 21 days, students would take quick peaks inside the incubator to see how they were doing.  I was giving a link to a Powerpoint containing pictures of the egg development over each day.  You can find the Powerpoint at this link.


Some kindergarten students were interested in the pictures of the eggs in development, and tried to draw a picture of what the chick looked like inside the egg!


On around Day 19, we transferred the eggs from the turner right onto the metal rack (covered with a thin mesh to prevent egg pieces from falling through).  This was the exciting part!


And when we walked in on a Tuesday morning, we had our first batch of baby chicks!!!


Students were invited to peak at the new babies while working on their art projects.  They were so excited to see them, they were on their best behavior waiting for their tables to be called up!


That afternoon and the next day, I moved the hatch-lings from the incubator to the box prepared with the heat lamp.


In the end, we had over 15 hatch out of two dozen eggs!


Now that the eggs were hatched, I discovered that I had limited time with the babies.  I only had them for one week before they were collected for a local farm.  So why did I want chicks in the art room?   I wanted students to document and quick sketch what they observed.  I was able to have a few kindergartners draw the eggs in development, but my 3rd graders were the lucky winners to work with the chicks!

The Project

Students were to create a drawing of a chick.  The challenge was how to draw a moving model.  My students are familiar with drawing still life or pictures for inspiration, but this was their first time drawing a live animal!

On each table, I set up a bin with white paper at the bottom.  Two chicks were carefully placed in each bin to be observed while drawing.  The chicks were properly taken care of and students were given specific instructions prior to starting on handling the chicks.

Warning: If you attempt this in your room, chicks poop...a lot.  Be prepared for students to laugh or comment on droppings while working on their drawings.

Students were given one class period (about 30 minutes) to create a drawing of a chick (or chicks).  Once their drawing was completed, they were able to place their chick in any background they wished.  The drawing was to be traced and colored using either crayon, colored pencil, or markers.  After day 1, students were only able to complete their draw and begin tracing.


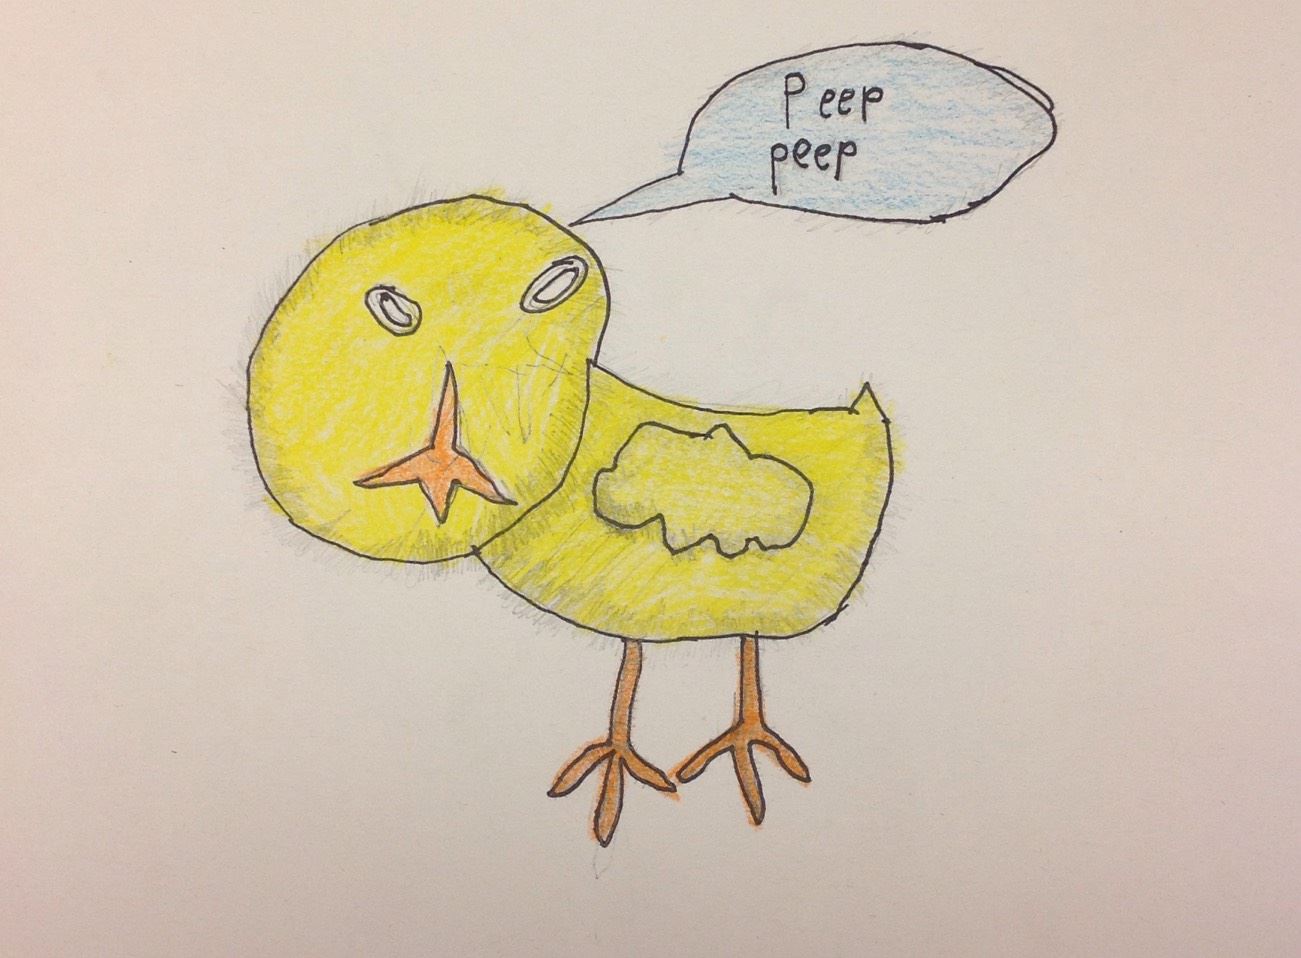
I couldn't help it, I wanted to draw a chick too!


After one week, we had to say goodbye to the chicks as they were adopted by a local farm.  The following week, students completed their drawings with crayons, colored pencils, or markers.

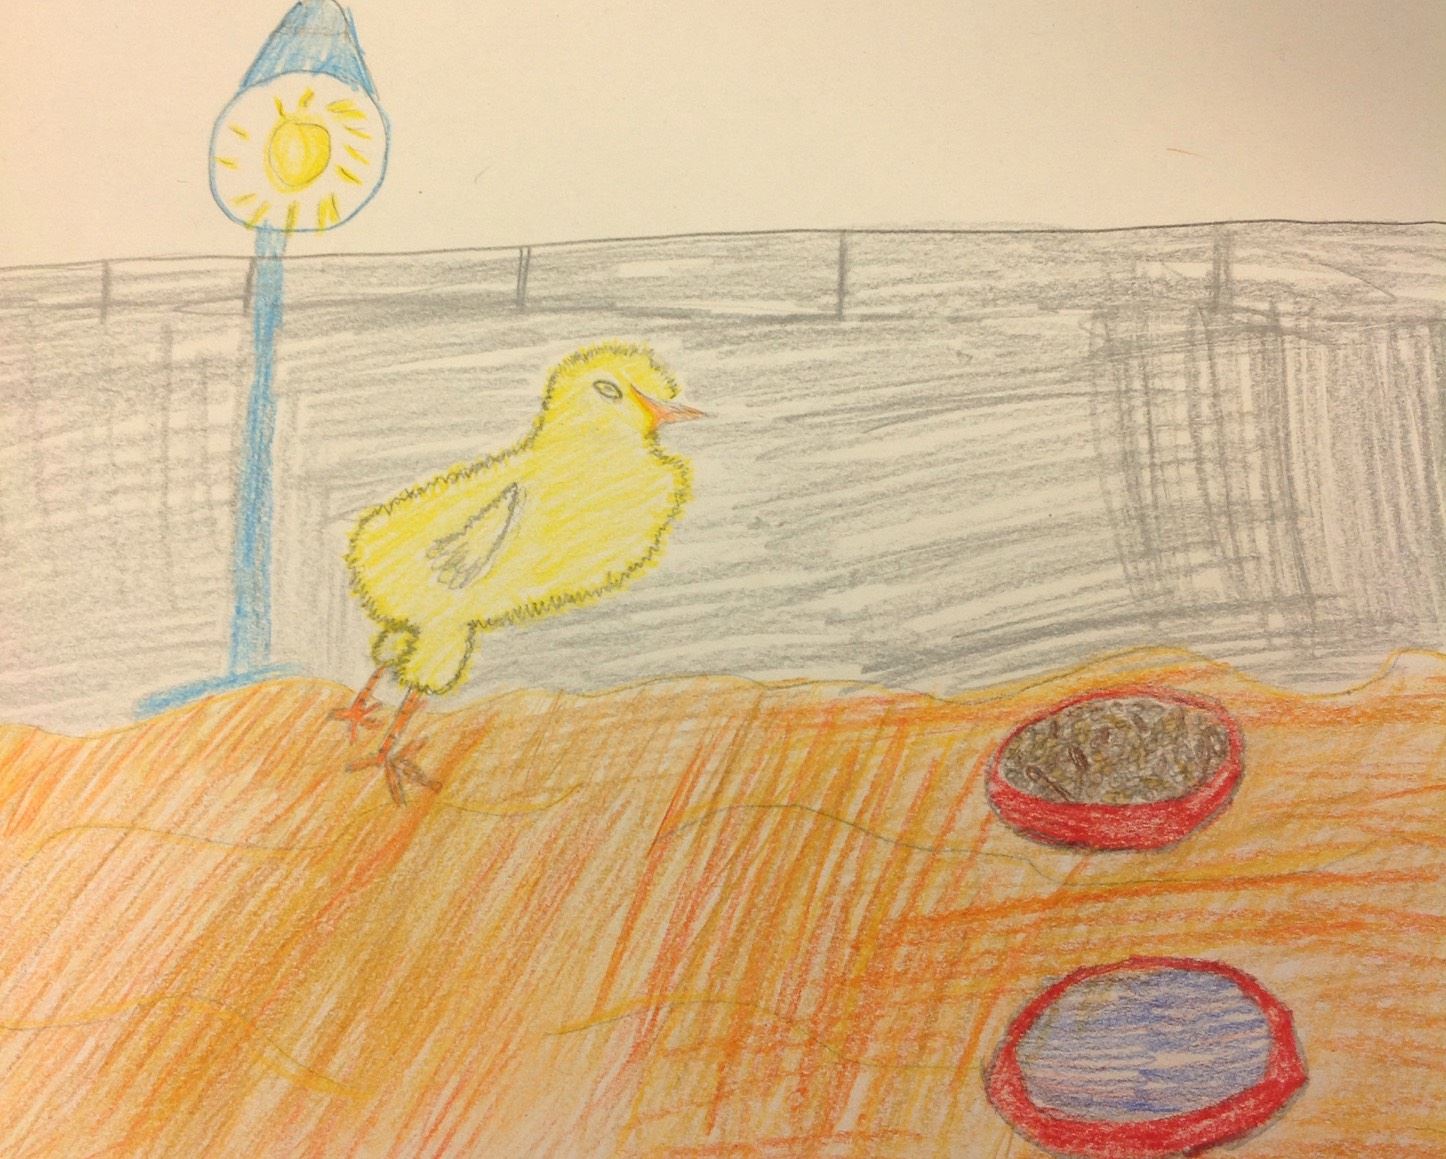
Here are some of the finished examples from the experiment!  The first drawing was made by a kindergarten student, and the rest are from my 3rd graders.


Overall, I loved having the experience of hatching baby chicks in the art room!  Since this was my first time (and new to the time frame), the project was limited to drawing materials.  Now that I'm familiar with the steps, the ideas are flowing for next year!  thank you so much to my colleague, Mrs. Perino, for making this happen!

Wednesday, May 24, 2017

End-of-the-Year Project Solutions: June's Stepping Stones


Congratulations! You are almost finished with the school year. It’s time to start wrapping up the remaining projects and finalize the portfolios. On top of wrapping up the final lessons, it’s also time to pack away everything you will need for the next school year. 
We all have different scenarios when it comes to closing up our spaces. If you’re on a cart, you might be doing an inventory on stock before that final push of the cart into your storage space. Some teachers are reassigned to new spaces and need to pack away everything they use for instruction. Others have multiple schools to pack up, and some teachers just close and lock the classroom door. No matter where you teach or what you need to do to wrap up the school year, it’s nice to have projects at the end of the year that are less complex. 
 Here are a few ideas for the end-of-the-year projects that can help with the extra duties of packing:

1. Work with simple materials that are easy to pack away. From personal experience, the last thing you want to be working with on your last day of school is any project that requires heavy liquid paints, beads, gems, feathers, glitter or clay. All your bigger materials should be ready to be packed away for easier cleanup.
There was a year I worked with acrylic paint on the last day of school, and the students had a difficult time bringing their artwork home with their full bookbags. It was an early mistake I do not wish to make again, so please make sure the materials you work with can be something they can take with them on that last day of school.

2. Use tempera cakes or watercolors for easy cleanup and quick dry. My younger grade levels are normally bouncy and excited at the end of the school year. Many times, drawing projects will not be enough to catch and keep their attention in those last few classes. If you even say the word “paint,” kindergarten students will jump for joy. My favorite paint to use at the end of the year is tempera cakes. They are easy to set up and clean up before and after projects. The paint also dries quickly, so even afternoon classes on the last day can take their projects home.

3. Create drawing lessons focused on principles of design. A good majority of my end-of-the-year projects are drawings. You can use up the last of the pencils, rulers, markers and coloring materials to complete your projects. There are plenty of projects you can create with these simple materials—from sketching to still life, portraits to perspective, symmetry to “zentangle” designs. You can have students complete their end-of-the-year project with simple materials.

4. Use up the scraps. Do you save a ton of colored scrap paper for projects? Do you have glue bottles that need to be emptied out? Consider a paper collage–type project to use up all the scraps! What better way to talk about Matisse’s paper cutouts or create paper sculptures while using up what materials you have left!

5. Create simple Op-Art projects. In my upper grade levels, students work with op-art designs to exercise their brains in the last weeks. It’s almost as if they are working toward solving a puzzle within their own work. Op art is a form of abstract art that gives the illusion of movement by using patterns and colors. Using limited materials, students can create amazing optical illusions!

6. Utilize the technology. Are there Chromebooks available? Do you have tablets? Do you have a projector? Whatever you have, you can work within your technology to give the students experiences without all the materials. Create an online Jeopardy game to revisit prior knowledge learned throughout the year. Do you have a Symbaloo (www.symbaloo.com) account? My students visit my art-game Symbaloo table to play games once they’re done writing artist statements.
(Image shared from Parentmap.com)
7. Have a playground or courtyard? Work with your space! On warm days, you can take students outside and work with the environment. You can do sidewalk chalk drawings, or earth art/nature-object art inspired by artist Andy Goldsworthy.

8. Collaboration Days. On those last days of school, you can have students work collaboratively with art games or mini projects. It will help keep students active in those last few classes.
If you are ever stuck on finding quick and simple ideas for the end of the year, visit your social media art-teacher groups and just ask. Many educators are willing to share their knowledge to help you along the way. 
Enjoy the rest of your school year with your students, and stay positive! Summer is almost here!

Sunday, May 7, 2017

Collaborations in the Art Class: May's Stepping Stones


Some of the best opportunities we can use in art classes are collaborations.  A collaboration occurs when your students actively work with another student or set of students to produce or create something.  This can be done to complete individual projects, group murals, develop ideas, or share art experiences.

There are many ways to have a successful collaboration without worrying about the students who do all the hard work while other sit back.

Choosing partners to work together.  While in class, you can pair up students to work together on drawings, paintings, sculptures, or prints.  I pair students up to share materials, and I find that with the students working closer together, they bounce ideas off of each other.  The ideas shared help in many ways to enhance the products because they are self-critiquing each other’s artworks.

Group Projects.  Group projects work when there are big ideas to be made into reality.  Take care in working with groups to make sure that one student doesn’t take on the entire load.  It is also in the group setting where you’ll find students developing their teamwork abilities.  I enjoy walking down the school halls watching groups work together to design posters, create stories and research facts needed for reports and presentations.  If well organized, students can create amazing larger than average projects that can awe and inspire others.

Classroom “Buddies.”  This collaboration happens when you combine two grade levels to achieve a goal (for example, kindergarten students with 6th graders).  Buddies can be used throughout the school year or with specific projects you assign.  Our school promotes this because younger students look up to the older students, and the older students take pride in handling the responsibility.  I like to use this system to not only assist with craftsmanship practice, but to encourage ideas and inspiration. 

Art Pen Pals.  Writing buddies have been a popular collaboration since I was in elementary school.  It was always exciting on the day our letters from our pen pals would arrive and we were able to write back.  With having art class pen pals, you can create ways for students to combine their efforts in creating artworks for students to enjoy sending back and forth!  If you’re attempting to work with pen pals and you’re worried about which student would be able to keep their projects, try to have students create two artworks that can be shared and added to, which will alleviate the challenge of which student keeps the artwork.

Cross-School Project Collaborations.  This year, the Jr. High art teacher and I worked together to plan a joint project between my 3rd graders and her students.  My 3rd graders created a drawing of an alien creature inspired by the surreal artworks of Joan Miro.  Students had to create the alien, give it a name and special abilities, and create an environment for the alien.  One the students were finished, the drawing were sent to the Jr. High.  From there, the students create sculpture prototypes of the aliens in a box, as if they were making an actual toy.  The purpose was to learn how to market the aliens with the specifications given.  The completed sculptures were sent back to the 3rd grade students as gifts.  Our students were in love with the overall results!  If you have multiple schools within your district, or already have art pen pals, this would be a great way to combine artistic efforts to create amazing artworks.

All School Collaboration.  There have been some amazing murals created at our school.  Once you have a theme, every one of your classes can work together to create visual masterpieces.  My favorite collaboration is for International Dot Day.  Each student creates their own “dot” project that can decorate the walls of your school.  Another successful mural was using self-portraits to promote our diverse community. There was also a year where each of my classes created a large scale artwork representing Earth Day.  We had over twenty-five 6 foot artworks hanging around the school for students to view during an all-school exhibit.

Working with the Community.  There are many ways to work with your local community to create amazing artworks.  One popular idea is the Dale Chihuly-inspired plastic bottle sculptures that can decorate gardens and parks near the school.  Students and local residents can work together to build pubic artworks that share pride in their neighborhoods!  Students can also work together with the community to create interactive murals at their local village halls, public libraries, or local businesses and galleries!

Consider having your students collaborate to bounce ideas, share input, and grow in their imagination.  Opportunities like this help students develop their team building skills and provide experiences the students will never forget when they grow up!